| 1. Cut the felt into two pieces the size and shape of the gladius you are duplicating. Be sure to include the rough shapes of the cross guard, grip and pommel. If you are making a spatha for a barbarian buddy, the process is the same, just a longer blade. This is where that straightedge comes in handy. |
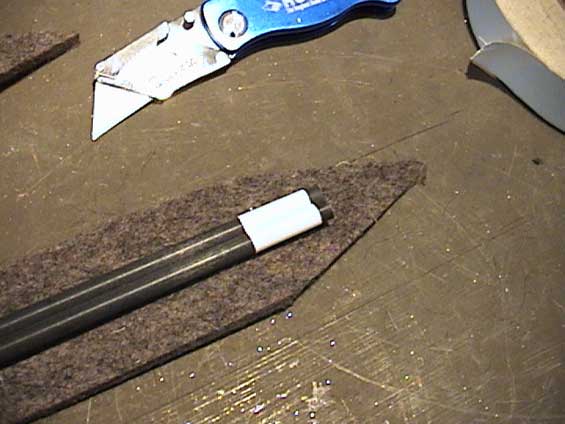
| 2. Next cut 2 pieces of the fiberglass tubing to length, about 1 ½" shorter than the felt. When laid next to each other the tubes should be about ½" from the end of the pommel and about ½" from the edges of the pointed part of the tip of the sword. Glue the two tubes together. |
 3. Cap both ends with a couple of layers of tape to prevent the tubes from poking through while thrusting. Then wrap the length of the tubes together with tape in a diagonal spiral like used to be used on bicycle handlebars. 3. Cap both ends with a couple of layers of tape to prevent the tubes from poking through while thrusting. Then wrap the length of the tubes together with tape in a diagonal spiral like used to be used on bicycle handlebars. |
| 4. Liberally apply glue to one side of the rod pair and place one of the pieces of felt onto the pair. Work down the length of the blade so that the glue does not cool before the felt comes into contact. It is better for the glue to be liquid to penetrate the wool for strength. |
| 5. Add the second piece of felt to the other side of the rod bundle by gluing it the same way. There will be a space along the edge between the two pieces of felt, which will be dealt with later. |
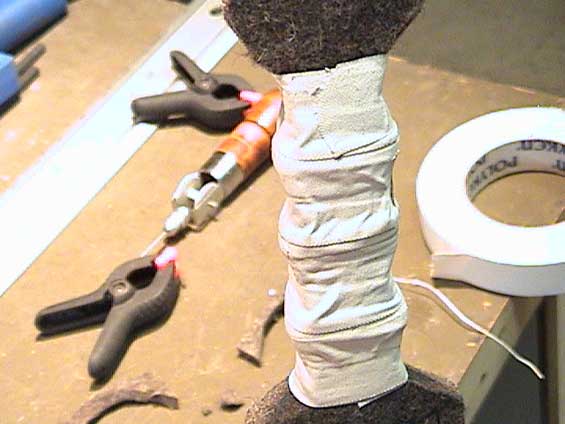
| 6. Dispense glue into the space between the felt at the tip of the sword and use a couple of clamps to hold the felt together while the glue cools. If glue extrudes from the felt and makes unsightly blobs, wait till they cool and trim them off with the knife. |
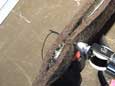 7. Now, the edges need to be sewn for strength. You can use a stitching awl to sew all the way around the edge of the "weapon," about ¼" in. Start with the tip and work back towards the grip, running a bead of glue ahead of the stitching. Glue about 3" at a time to allow the stitching to compress the still molten glue. The stitches should be quite close together at the tip, no more than ¼" long for the first 3" or so, and then no more than ¾" long down the length of the blade. Don't bother stitching through the actual grip, but stitch in a pocket at the back of the pommel. 7. Now, the edges need to be sewn for strength. You can use a stitching awl to sew all the way around the edge of the "weapon," about ¼" in. Start with the tip and work back towards the grip, running a bead of glue ahead of the stitching. Glue about 3" at a time to allow the stitching to compress the still molten glue. The stitches should be quite close together at the tip, no more than ¼" long for the first 3" or so, and then no more than ¾" long down the length of the blade. Don't bother stitching through the actual grip, but stitch in a pocket at the back of the pommel. |
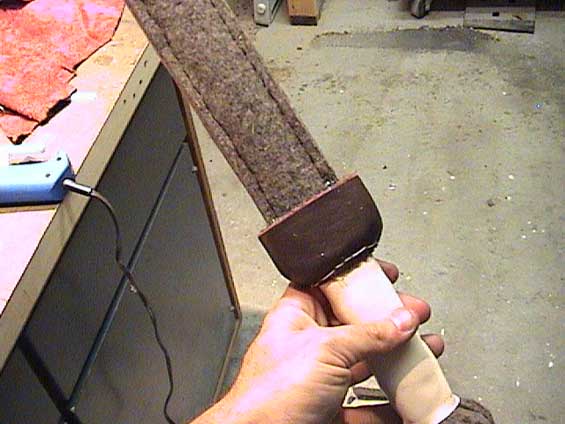
| 8. Glue on extra layers of felt on both sides of the guard and pommel to build them up. Once the glue hardens, carefully shape the felt with a fresh blade in the utility knife. The felt shaves fairly easily and will make nice ball and semi circle shapes with some patience. You may also wish to scallop the sides of the grip area too to make finger grooves like the ones on bone grips. |
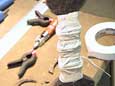 9. Use tape wraps to build up the ridges in the grip to match bone examples. Now wrap the grip area in soft leather. The best choice here is thin, supple chrome tanned leather in bone or white color. I usually abhor chrome tan for it's inaccuracy, but it's stretch ability and lack of need to wet it makes it superior here. Use a line of glue opposite the stitching to keep the leather from moving around. Stitch the leather using the awl or double needle technique as you prefer 9. Use tape wraps to build up the ridges in the grip to match bone examples. Now wrap the grip area in soft leather. The best choice here is thin, supple chrome tanned leather in bone or white color. I usually abhor chrome tan for it's inaccuracy, but it's stretch ability and lack of need to wet it makes it superior here. Use a line of glue opposite the stitching to keep the leather from moving around. Stitch the leather using the awl or double needle technique as you prefer |
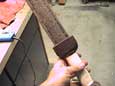
| 10. Wrap the guard and pommel ball in soft leather of a brown or wood color. Again, use a little glue to secure the leather in addition to the stitching. |
 11. Marvel at your creation and find a barbarian to wail-on. 11. Marvel at your creation and find a barbarian to wail-on.
|